7 Steps for Properly Wiring a Powerstroke Engine
Estimated 0 min read
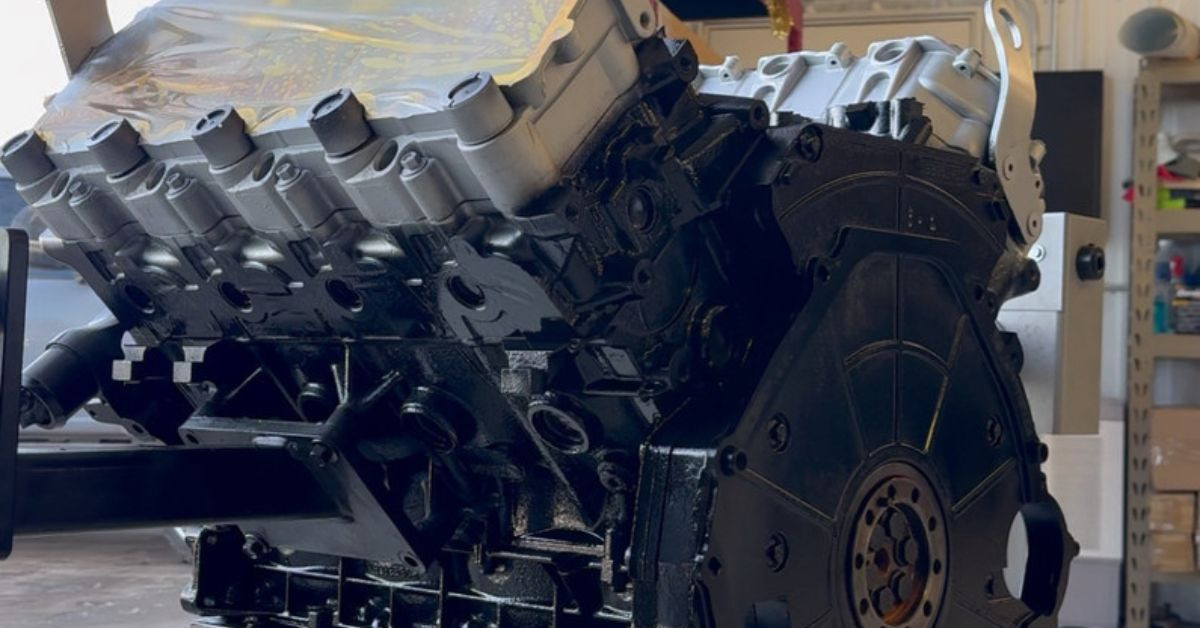
Wiring a Powerstroke engine might seem daunting at first, but breaking the process into manageable steps makes it much more approachable. Whether you’re installing a fresh crate engine or rewiring an existing setup, understanding the correct procedures will help you avoid costly mistakes and keep your diesel running smoothly. This post walks you through the essential steps for properly wiring a Powerstroke engine, with practical tips to help you complete the job with confidence.
Why Proper Wiring Matters
Your Powerstroke engine relies on precise electrical connections to operate correctly. Poor wiring can lead to starting issues, sensor malfunctions, or even engine damage. Taking the time to wire your engine correctly from the start saves you from troubleshooting headaches down the road and helps your truck perform at its best.

Step 1: Gather Necessary Tools and Materials
Before you begin, assemble everything you’ll need for the job. Having the right tools on hand prevents unnecessary delays and frustration. You’ll want a comprehensive wiring harness designed for your specific Powerstroke model, a multimeter for testing connections, wire strippers and crimpers, electrical tape and heat-shrink tubing, and a set of basic hand tools, including screwdrivers and wrenches.
A factory service manual or wiring diagram specific to your engine model is also essential. This documentation provides the exact specifications and color codes you’ll need to reference throughout the process.
Step 2: Disconnect the Battery and Locate Wiring Schematics
Safety comes first when working with electrical systems. Start by disconnecting both battery terminals, beginning with the negative terminal to prevent accidental shorts. Once you’ve isolated the electrical system, locate your wiring schematics. These diagrams show you exactly where each wire connects and what function it serves.
If you’re working with a 2003 6.0 Powerstroke engine, make sure you use the correct year-specific schematic, as wiring configurations can vary by model year. Keep these diagrams nearby throughout the installation so you can reference them quickly.
Step 3: Identify and Label Existing Wiring
If you’re replacing or modifying an existing harness, take time to identify and label each wire before you disconnect anything. Use masking tape and a permanent marker to create clear labels that correspond to your wiring diagram. This simple step prevents confusion later and helps you verify that you’re connecting the right wires in the correct locations.
Pay special attention to sensor wires, ground connections, and power supply lines. Photograph the existing setup from multiple angles as an additional reference point.
Step 4: Follow the Wiring Diagram Carefully
With your preparation complete, you can begin the actual wiring process. Work methodically through your diagram, connecting one circuit at a time rather than wiring everything at once. Start with the main power and ground connections, which form the foundation of your electrical system. The main power wire typically connects to the starter solenoid, while ground wires attach to designated points on the engine block or frame.
After establishing these primary connections, move on to individual components such as the glow plug relay, fuel injector harness, and various sensors, including the camshaft position sensor, crankshaft position sensor, and exhaust gas recirculation sensor.
Step 5: Connect the New Wires Securely
Each connection you make needs to be solid and secure. Loose connections create resistance, which leads to voltage drops, poor performance, or intermittent problems that are difficult to diagnose. When connecting wires, strip just enough insulation to create a clean connection without exposing excess bare wire. Use quality crimp connectors or solder joints rather than relying on twist-and-tape connections, which tend to fail over time.
After making each connection, tug gently on the wires to verify they’re secure. Apply heat-shrink tubing over connections to protect them from moisture and vibration. Route wires away from hot exhaust components and sharp edges that could wear through the insulation.
Step 6: Test and Troubleshoot the Connections
Before reconnecting the battery and attempting to start the engine, verify your work with a multimeter. Check for continuity on sensor circuits, test ground connections for proper resistance, and confirm that power circuits receive the correct voltage. This testing phase catches wiring errors before they cause problems. When you’re confident in your connections, reconnect the battery terminals, starting with the positive terminal this time.
Turn the ignition to the “on” position without starting the engine and check that warning lights behave as expected. The check engine light should illuminate briefly, then turn off if you’ve wired everything correctly. Listen for the fuel pump to prime and watch for any unusual behavior on the instrument cluster.

Step 7: Secure and Protect the Wiring
Once you’ve verified that all connections work properly, take steps to protect your wiring from the harsh environment under the hood. Use zip ties to secure the harness at regular intervals, keeping wires organized and preventing them from rubbing against moving parts. Install protective loom or conduit over wire bundles in areas where they might contact sharp edges or hot surfaces. Make sure no wires hang loose where they could get caught in belts or pulleys.
Check that all connectors seat fully and lock into place. Many Powerstroke sensors use weatherpack connectors that require a firm push until you hear or feel them click.
Tips for Avoiding Common Wiring Mistakes
Several common errors can derail your wiring project. Rushing through the process leads to crossed wires and incorrect connections, so work at a steady pace and double-check each step. Using incorrect wire gauges for power connections can cause voltage drops and pose a fire hazard, so always match or exceed the specifications in your service manual. Neglecting proper grounding creates a host of electrical gremlins that are frustratingly difficult to track down. The Powerstroke engine requires multiple dedicated ground points, and each one matters.
Failing to protect connections from moisture invites corrosion, which gradually degrades electrical performance. Even a small amount of corrosion can cause significant resistance in critical circuits. Taking shortcuts with connector quality to save a few dollars often costs more in the long run when those connections fail. Finally, skipping the testing phase means you might not discover problems until you’ve already buttoned everything up, forcing you to disassemble your work to troubleshoot.
Proper Wiring Delivers Optimal Performance
The time you invest in wiring your Powerstroke engine correctly pays dividends in reliable operation and trouble-free performance. By following these steps and paying attention to details, you set yourself up for success. A well-wired engine starts reliably, runs smoothly, and gives you years of dependable service. Whether you’re installing a fresh crate engine from a trusted supplier or rehabilitating an existing powerplant, these principles apply. Take your time, reference your diagrams frequently, and don’t hesitate to seek professional guidance if you encounter something unfamiliar. Your Powerstroke engine deserves the best electrical foundation you can provide.


